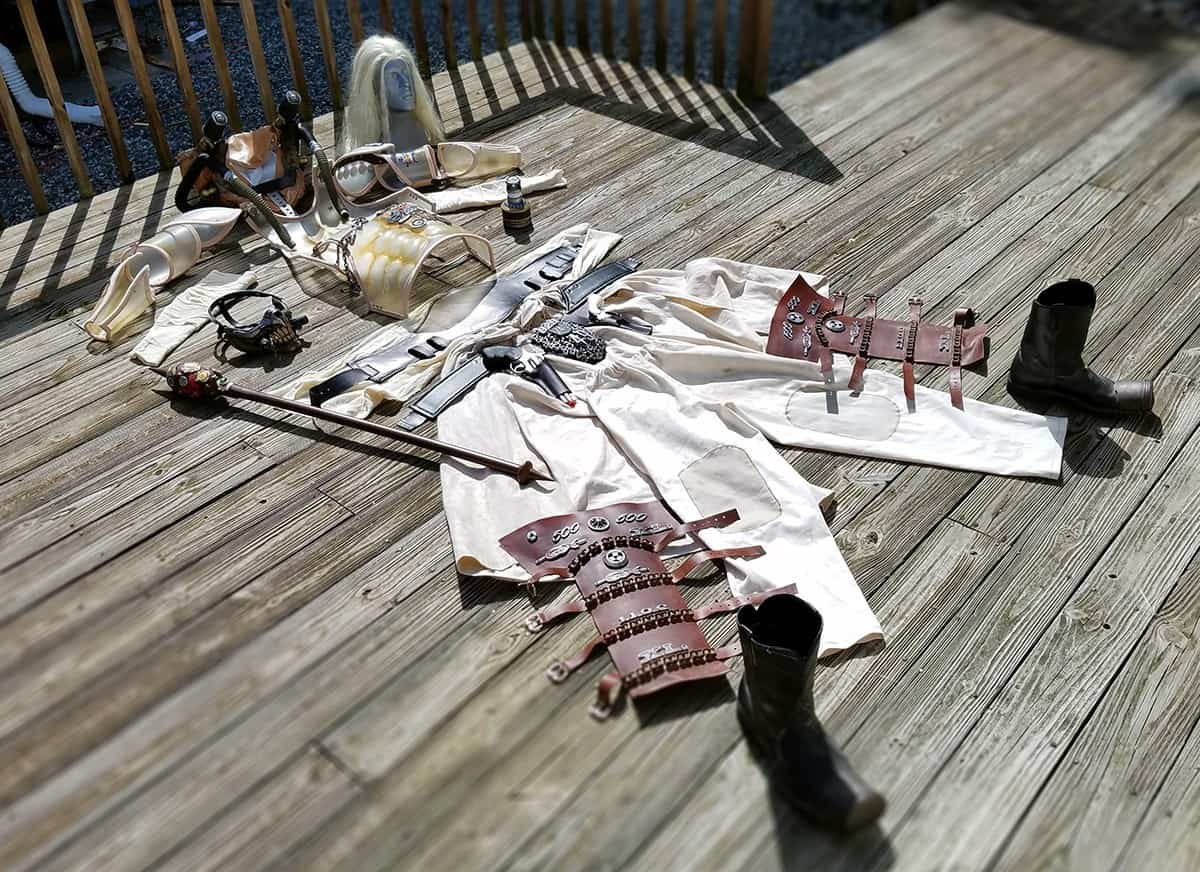
I have a bunch of other irons in the fire that are still half-finished or in-progress, but to hell with it, I want to post this stuff too. I really liked Fury Road, but I wasn’t planning on doing any props from it due to the other stuff I’m working on… right up until I found a really cool 3d model of Immortan Joe’s mask done by Filipturz and just had to print it.
I showed the thing to Maria and she thought it was pretty cool, but she started pointing out all the inaccuracies and ways the movie mask differed from what I had printed. First and foremost was the grille-looking stuff in the nostril holes, as you can see below.
Took a while for me to actually find reference images – at first I thought the hole had a metallic grill in it, but upon further evaluation it looks like some sort of filtration fabric material. Nevertheless, it was obvious that step one was going to be drilling the nose hole open.
Easily enough done with a dremel and sanding bit. I grabbed some two-part sculpting epoxy that I had nearby for wargaming purposes and patched the hole back closed with a deeper recess so that I could add the vertical lines back in overtop.
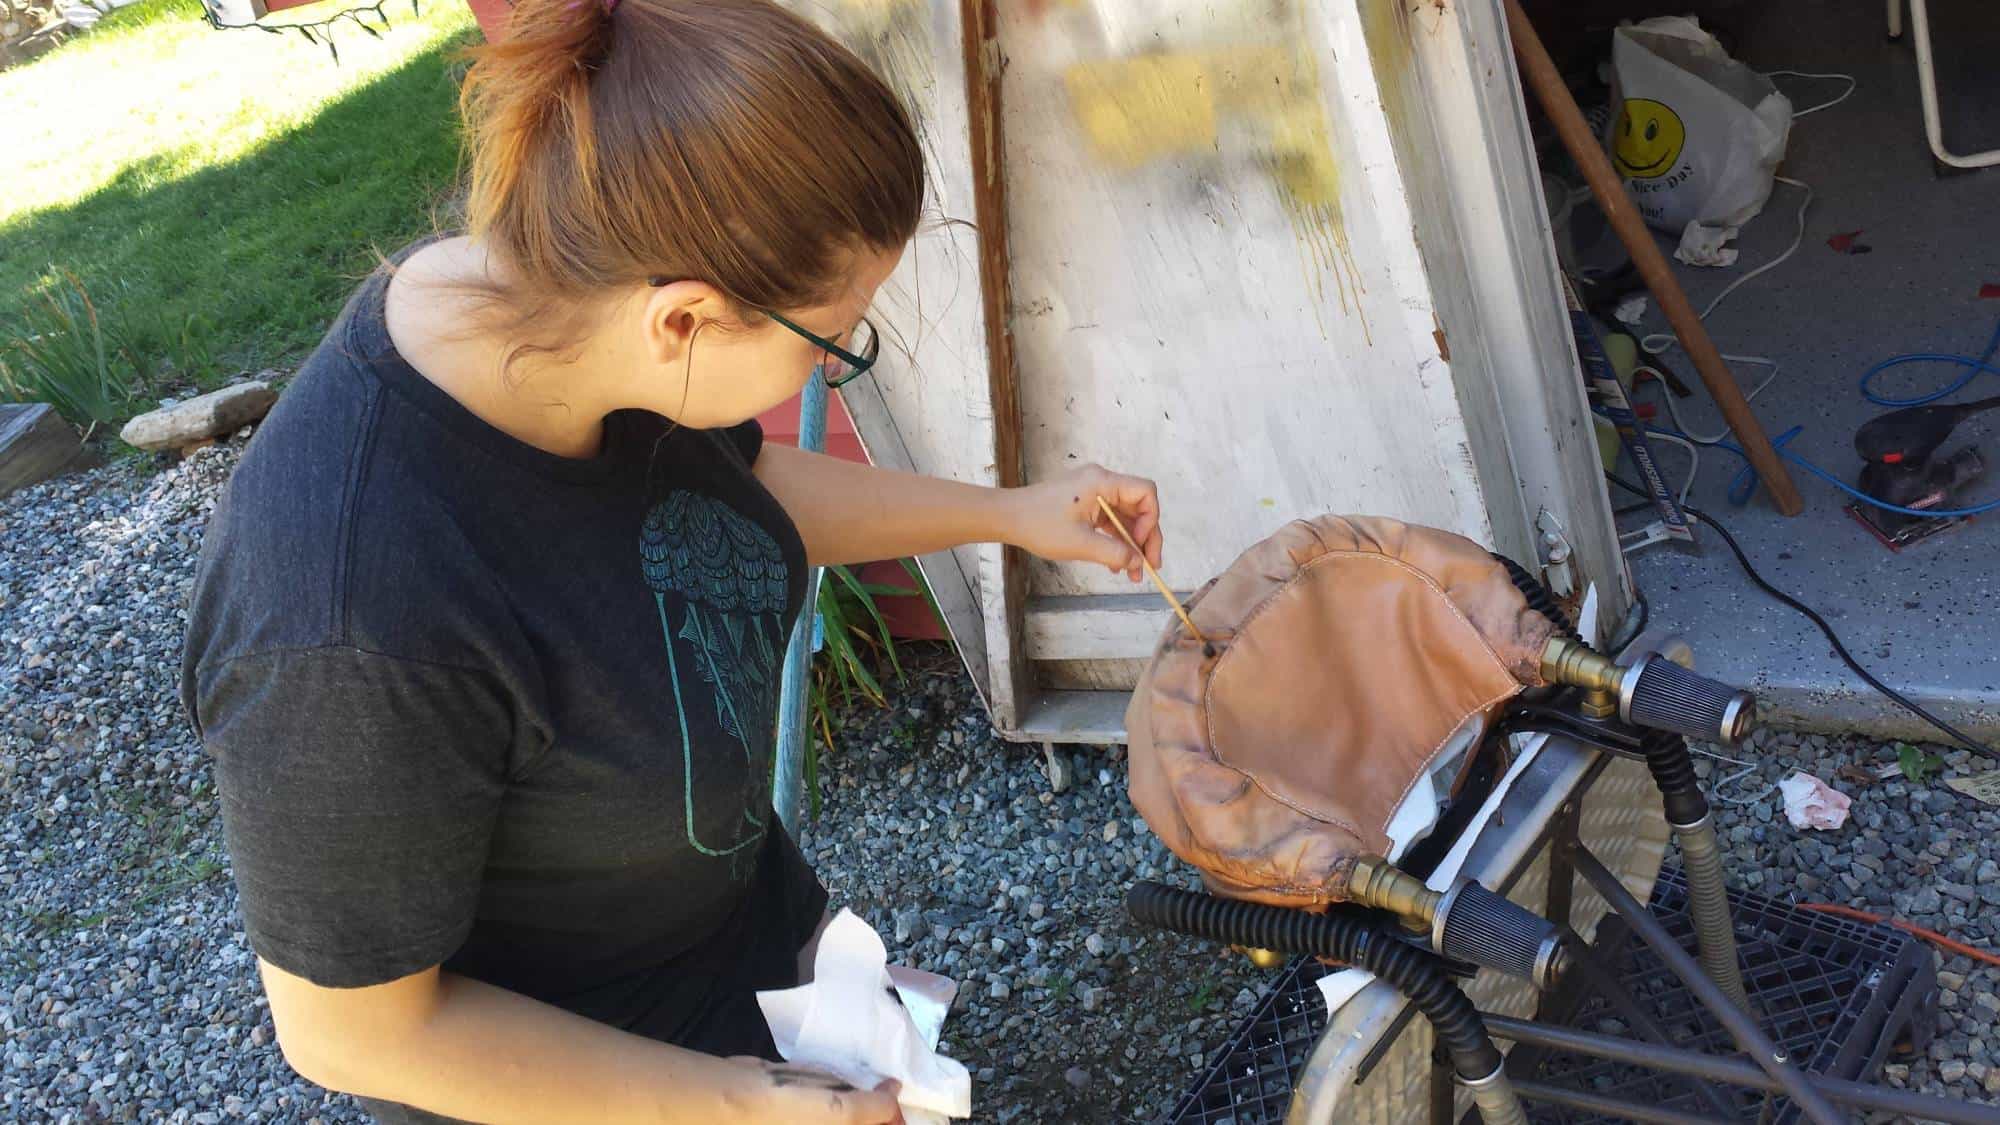
Of course, while I was doing all of that, Maria also pointed out that the teeth needed a bit of texturing, because the printed ones were too smooth. I am actually pretty garbage when it comes to sculpting. Thankfully, she is pretty good at it! I talked her into giving me a hand, so she grabbed the Apoxie Sculpt and got to work.
She followed me right down that same rabbit hole and started resculpting other parts of the mask to be more accurate, including building out the cheekbones and the addition of a hammered-metal sort of texture to some of the metal parts.
I kinda can’t believe how cool it looks. She’s doing a heck of a job on it, and it keeps becoming one of these ‘oh hey look at that detail, it’s different, let me resculpt that’ things. We’re not going for perfect screen accuracy, but it’s pretty clear that the Apoxie Sculpt has improved the mask dramatically.
Now, I didn’t want to be a slouch, myself. While she was doing all of this, I decided to get back to leveraging what I know how to do, and started modelling up a bunch of extra / ancillary parts to be 3d-printed, with the idea that I’d make them as accurate as possible. I redid the gas mask hose attachment points so that they resembled the ones from the movie closer.
I should pause here and mention that I am a big advocate for open sharing of 3d models in this hobby. Most of my projects have started from seeing a cool model someone else has made and then wanting to improve upon that, as I tried previously with my Star Lord helmet. I haven’t had a chance to print this part yet yet to confirm that the dimensions on it are correct (both as it connects to the mask and the diameter that’d be needed to fit a gas mask hose) but as soon as I finalize that, I’ll post the models up.
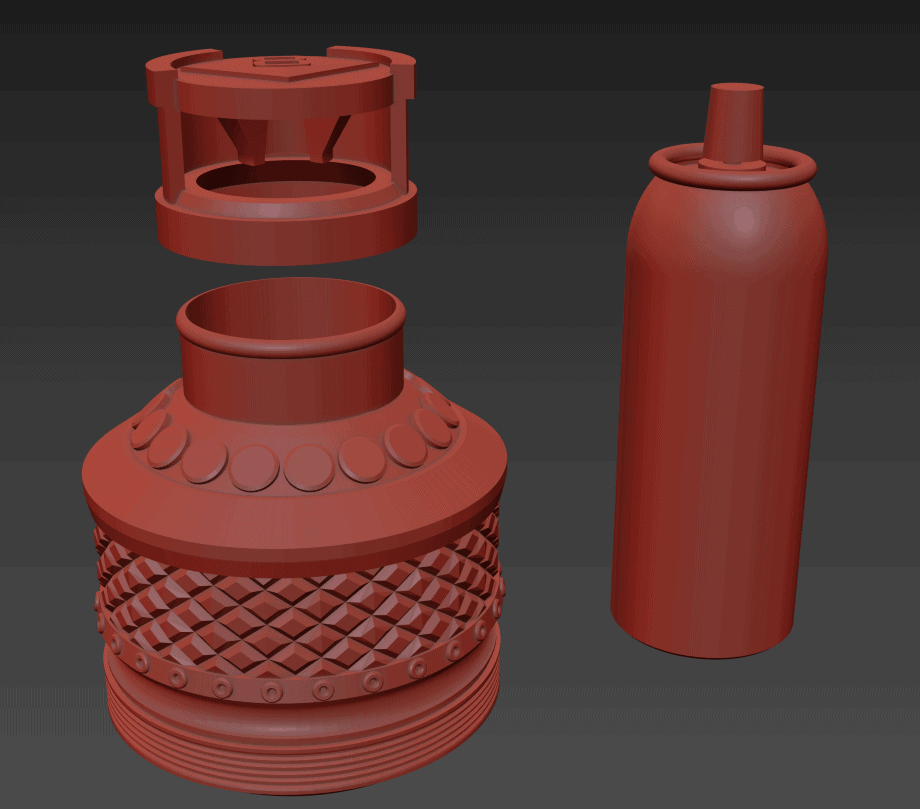
I also started taking a look at the rest of Immortan Joe’s filtration system.
It looks like he has a pair of motorcycle(?) air filters of some description built into the rebreather bag he wears behind his head. These parts in particular seemed ripe for 3d printing, so I figured I’d take a crack at it. They’re not entirely consistent between the reference images I’ve seen, but I think I’ve got the model in ‘close enough’ territory.


